
Uploading the same folders every evening, copying reports to another cloud account, and checking whether shared documents are up to date can take more time than you expect. Each task is small, but together they become a routine that depends on remembering every step.
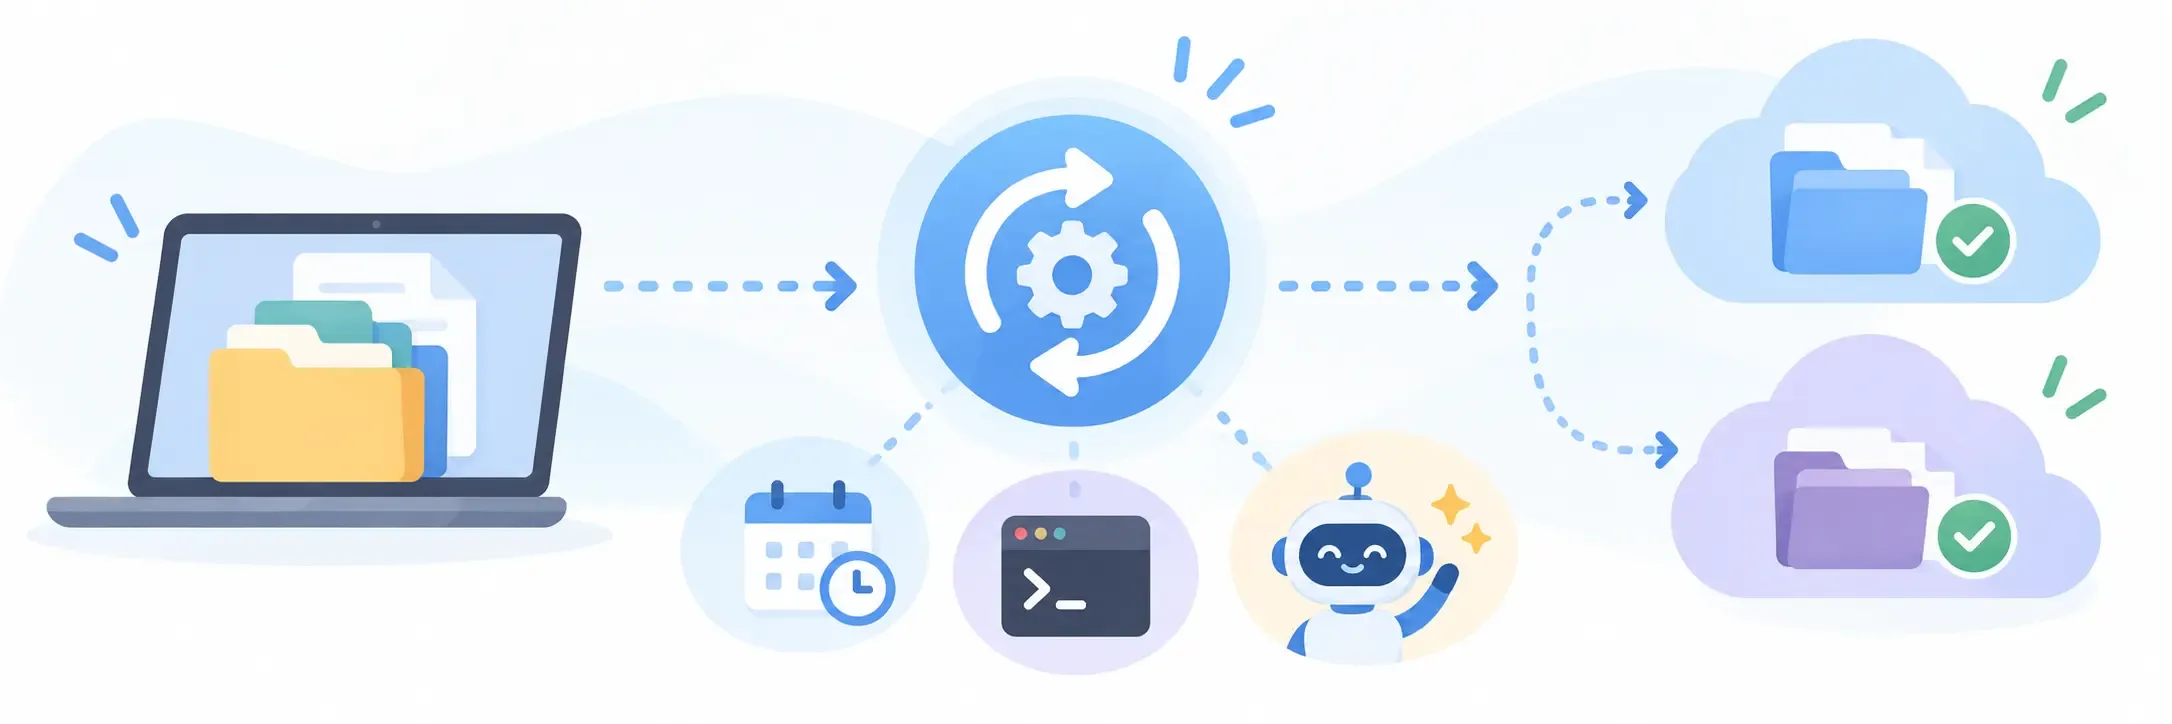
Automation helps you turn those repeated actions into a consistent file management workflow. With Air Explorer, start by creating and saving a synchronization. You can then reuse that same configuration with the built-in scheduler, launch it from the command line, or ask a compatible AI assistant to run it for you.
Create and Save Your Synchronization
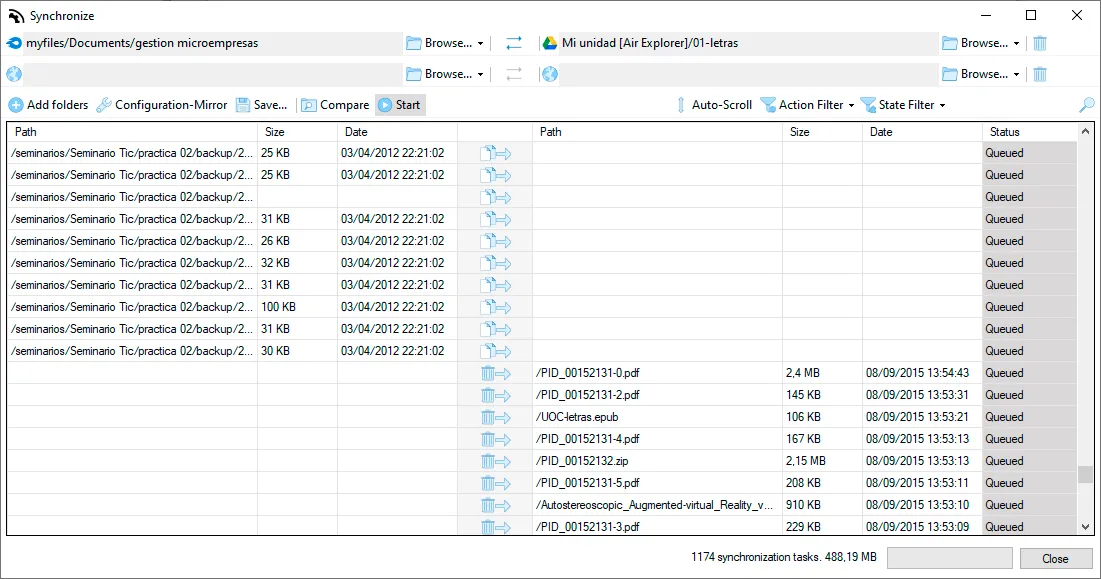
Start with a synchronization you want to repeat. For example, you might keep a local Reports folder synchronized with OneDrive or update a shared project folder in Google Drive.
In Air Explorer, select the two folders, open the synchronization tool, and choose the synchronization mode that suits your task. Review the comparison, run the synchronization, and save its configuration with a recognizable name, such as DailyReports.
The saved synchronization keeps the folders and settings ready for reuse. Next time, you can run it again without selecting everything from scratch. You can also schedule it or launch it through the command line.
This gives you a practical starting point for automation: an operation you have already configured and checked in Air Explorer. From there, simply choose how you want to repeat it.
Schedule Your Saved Synchronization
Once you have saved DailyReports, open Air Explorer’s built-in scheduler, add a task, choose synchronization, and select the saved configuration. Set the days and time, then save the task. You can do this directly in Air Explorer without opening Windows Task Scheduler.
For example, schedule DailyReports for 7 PM each working day. As you add or update reports in the local folder, the next scheduled run applies the saved synchronization settings to the OneDrive destination. You can follow the same approach with a weekly synchronization of a shared project folder between cloud accounts.
The schedule controls when the task runs; the saved synchronization controls what it does. Keep its mode in mind: some modes can propagate deletions, so a synchronized folder alone should not be treated as a historical backup.
Because you have already run and checked the synchronization, you can build on that configuration. After scheduling it, check the first automatic run to confirm it completed as expected. The computer running the task needs to be available and connected at the scheduled time.
Use the Command Line for Flexible Workflows
Your saved synchronization is also ready to use from the command line. This is useful when you want to run it as part of another process, such as uploading reports immediately after a script finishes generating them.
To launch the same DailyReports configuration, use:
AirExplorerCmd.exe runsavedsync "DailyReports"Here, DailyReports is the name you used when saving the synchronization in Air Explorer. In a real script, use the executable’s installation path and the exact name of your saved synchronization.
The runsavedsync command reuses that configuration, including its folders and options. You do not need to enter the source, destination, and synchronization mode again. Command line support requires Air Explorer Pro and must be enabled in the application’s settings.
For more examples, see our guide to automating cloud workflows with Air Explorer’s command line.
Ask AI to Run the Saved Sync
If writing commands feels unfamiliar, Air Explorer’s AI Skill lets a compatible assistant use the saved synchronization for you. An assistant that can execute commands on your Windows computer can translate a plain-language request into the corresponding Air Explorer command.
You might ask:
“Run my saved Air Explorer synchronization called DailyReports.”
The assistant can launch it using runsavedsync, with the settings you already saved. You do not need to describe the folders, filters, or synchronization mode again: the saved name identifies the configuration to use.
This is useful when you want to run the synchronization outside its normal schedule, such as after finishing a report early. Keep the recurring schedule in Air Explorer and use the assistant to request an extra run whenever you need one.
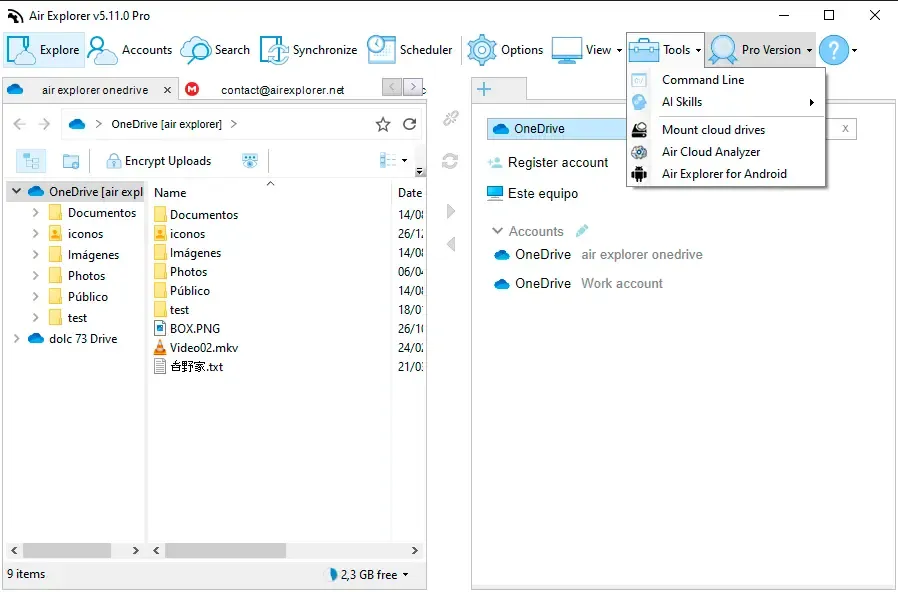
Install the skill through Air Explorer’s Tools → AI Skills menu. You will need Air Explorer Pro, enabled command line support, and a compatible local assistant. A browser-only conversation cannot execute these commands on your computer.
Name the saved synchronization clearly and review the proposed action. The AI uses your existing configuration, so its overwrite and deletion behavior comes from the synchronization settings you selected in Air Explorer.
Review the Results and Expand Gradually
Automation still benefits from occasional checks. Review task results, logs, or synchronization reports to confirm that files reached the intended destination. When you rename folders, change accounts, or adjust your project structure, review and update the saved synchronization in Air Explorer.
Start with one saved synchronization, confirm it works, and choose how to repeat it. Whether you use the scheduler, a script, or an AI assistant, that saved configuration remains the basis of the workflow. Over time, these small routines help keep your cloud storage organized with less manual effort.